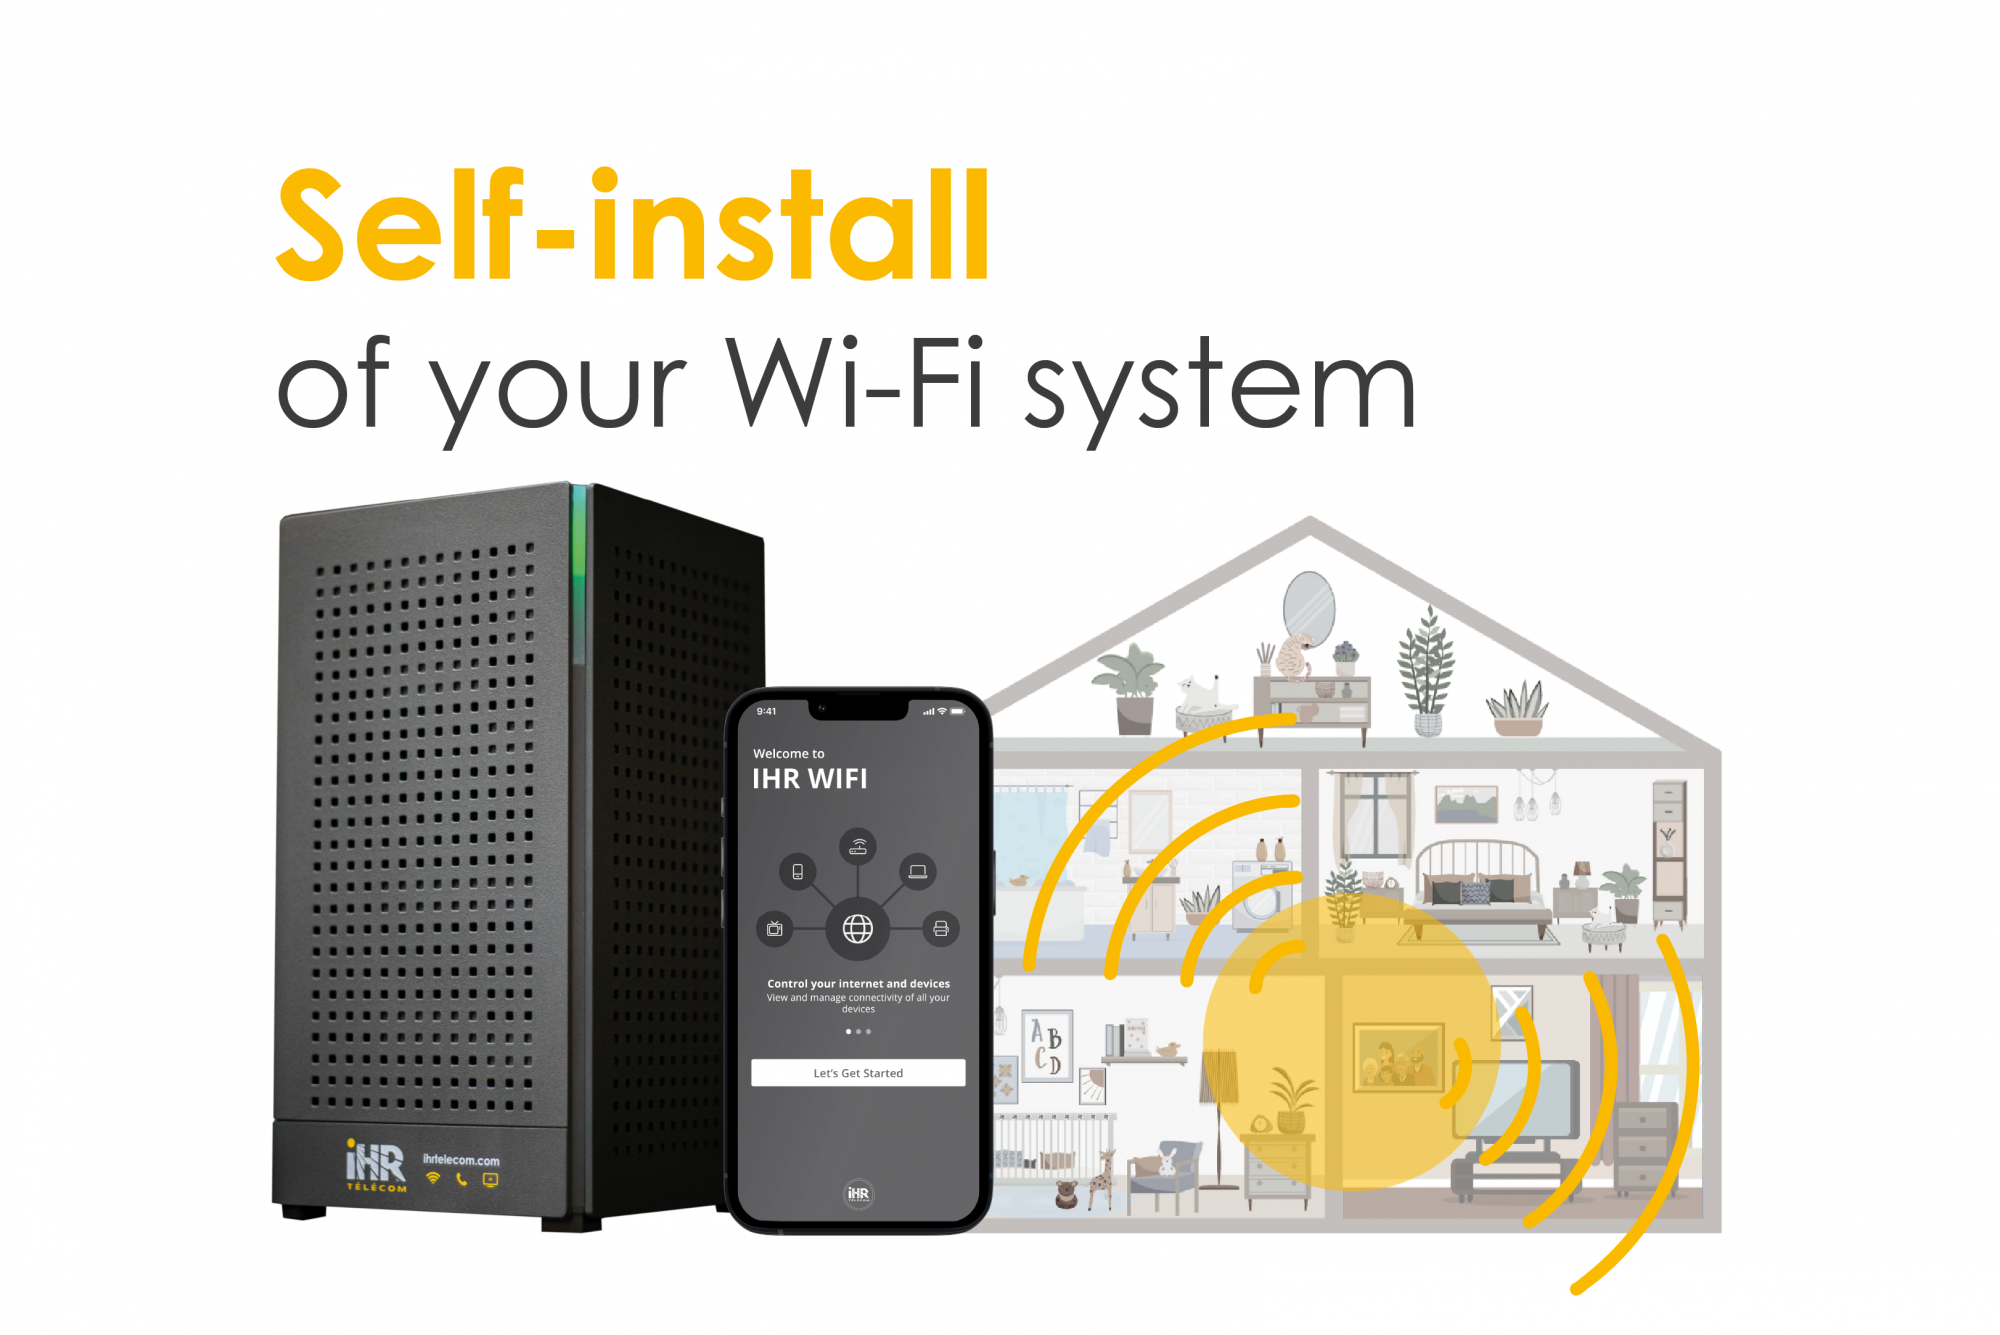
Self-install of your Wi-Fi system
Published on : 20 November 2024
If you want to install and configure your Wi-Fi system quickly and easily, you’ve come to the right place! We’ve created a step-by-step guide to help you set up your equipment and app.
Here we go!
1. Router location
First, make sure your router is in an optimal location, ideally in the center of your home. This will ensure more uniform Wi-Fi coverage and better performance with our services.
Before installing your router, consider the sources of interference to avoid:
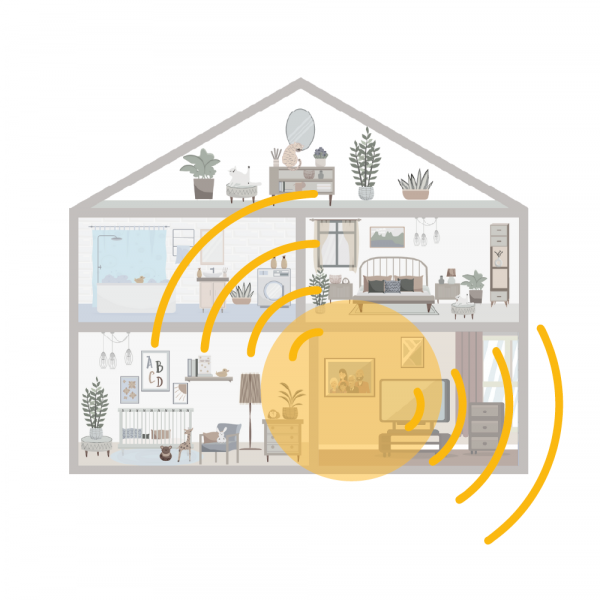
• Microwaves
• Baby Monitors
• Concrete wall, bricks
• Mirrors
• Water heater
2. Download the app
2.1. Go to your device’s Google Play Store or Apple Store.
2.2. Download the app that suits your needs;
IHR WIFI app | Residential Wi-Fi management
IHR WIFI PRO app | Business Wi-Fi management
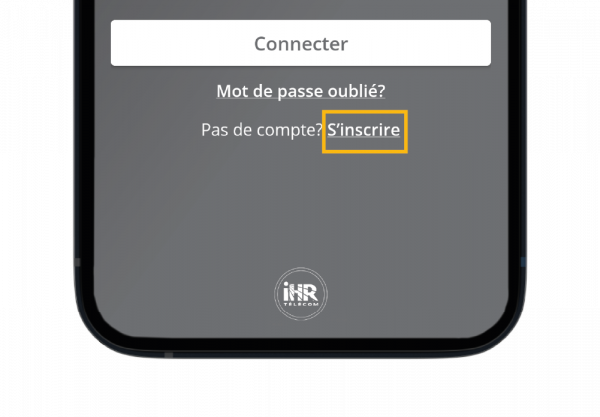
2.3. Select Sign up and create your account.
3. Configure your Gigaspire router
3.1. Select your Gigaspire and click on Start Set Up.
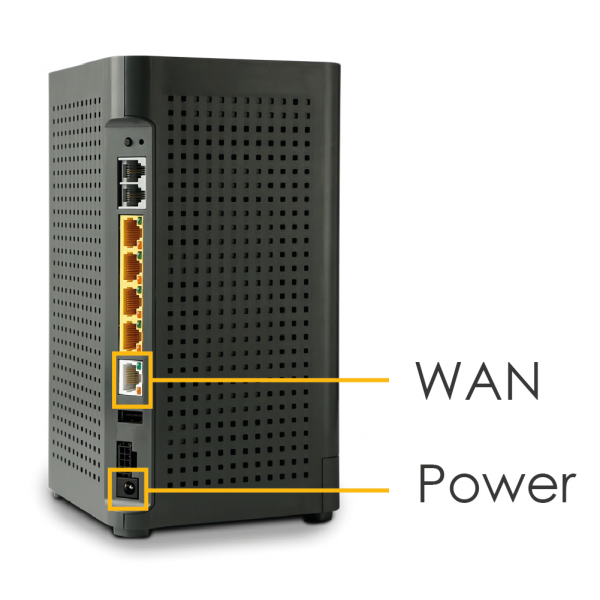
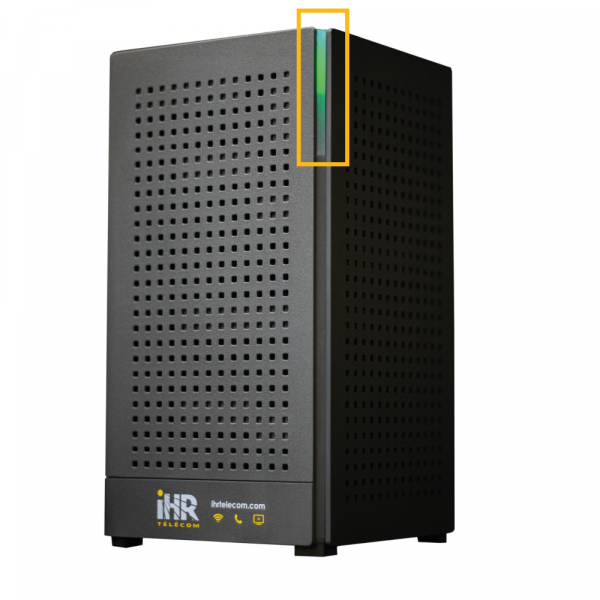
3.2. Make sure your router is on:
- Power it up;
- Connect ethernet cable in the WAN;
- Wait about 10 minutes;
- Green light status means good to go.
4. Scan QR code
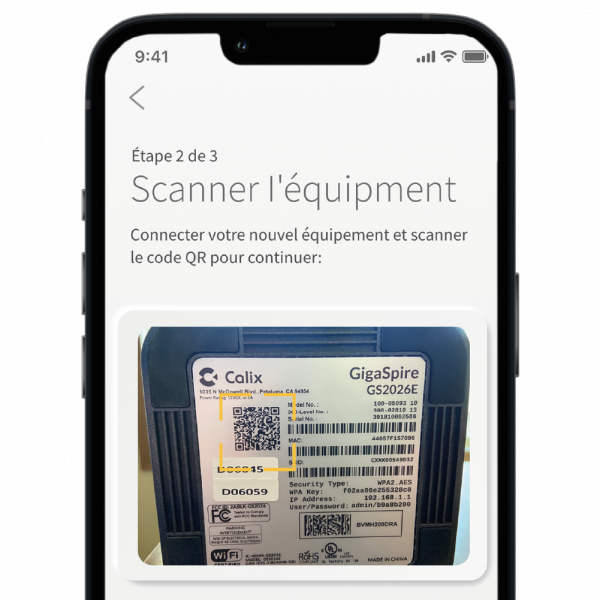
4.1. At the bottom of your router, you’ll find a QR code. When you get to this step, scan it.
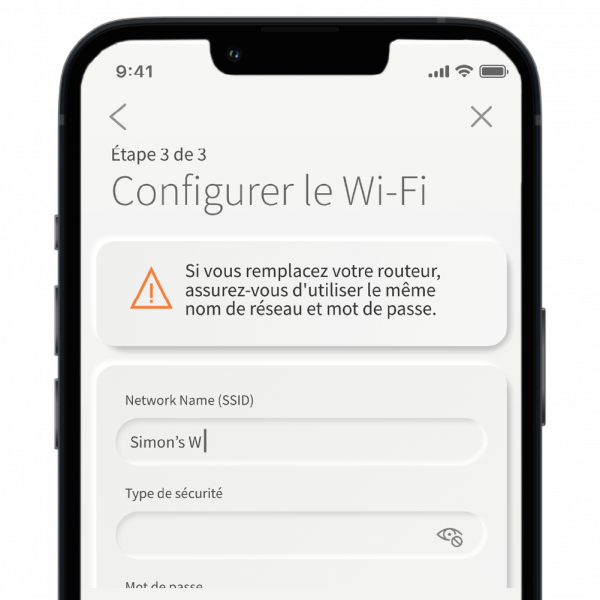
4.2. Name your network and create a password.
5. Congrats!
Now you can take control of your network.
Discover all the benefits and features of your app.
Find out more about the IHR WIFI app | Residential Wi-Fi management
Download the Start Guide of the IHR WIFI app
Find out more about the IHR WIFI PRO | Business Wi-Fi management
Download the Start Guide of the IHR WIFI PRO app
Related articles
Installation guide for your TV platform
Call us right away!
In person
380, 4e Avenue C.P. 911
Saint-Jean-sur-Richelieu
QC, J2X 4J5


